Waijung Webpage Designer (W2D) Disk Images
First Time Installation
The steps for W2D installation is as follows;
| 1. | Get the hardware ready. Build your model with Webserver Setup Block + UART Setup Block (e.g. web_adc.mdl demo, came with Waijung package) |
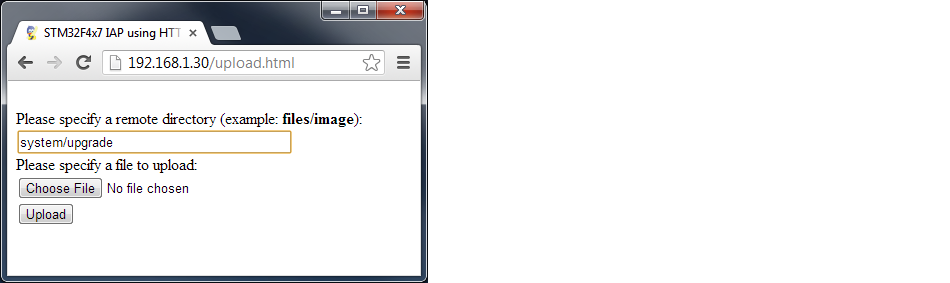
| 3. | Open Chrome Browser and go to your configured IP -----> 192.168.1.30/upload.html |
| 4. | Input system/upgrade as a remote directory, then choose file (you just download), then click Upload. Wait until success, or try again if fail. |
| 5. | For under 1 minute, MCU webserver will be reset automatically, then W2D will be ready. |
| 6. | Please go to your configured IP -----> 192.168.1.30 |
Upgrading W2D
The steps for W2D upgrade is as follows;
| 1. | Clear or Format both Micro SD cards (one on F4 Connect, one on SQLite database server module) |
| 2. | Clear Browser Cache (must do) |
| 3. | Upload the new W2D.img to directory 'system/upgrade' via upload.html |
| 4. | Wait until MCU is reset, then go to login.html to re-initialize database |
| 5. | If initialization process do not start, please use login.html?35486545153 (any random number) to force browser to reload new file |


